01
Vehicle Consultation
Discuss the vehicle, intended appearance, coverage area, desired finish, and practical requirements for the installation. We will assess the vehicle's paint condition during this phase.
02
Design Direction
Establish the exact colour, finish, specific commercial graphics if required, and overall visual treatment to be applied. Material samples can be viewed to confirm selections.
03
Vehicle Preparation
Prepare the exterior surfaces appropriately through comprehensive decontamination, thorough cleaning, clay-baring, and dedicated degreasing prior to any vinyl application.
04
Material Preparation
Prepare the selected cast vinyl, map out and cut the required panels precisely, and organise individual areas for a streamlined and efficient installation process.
05
Precision Application
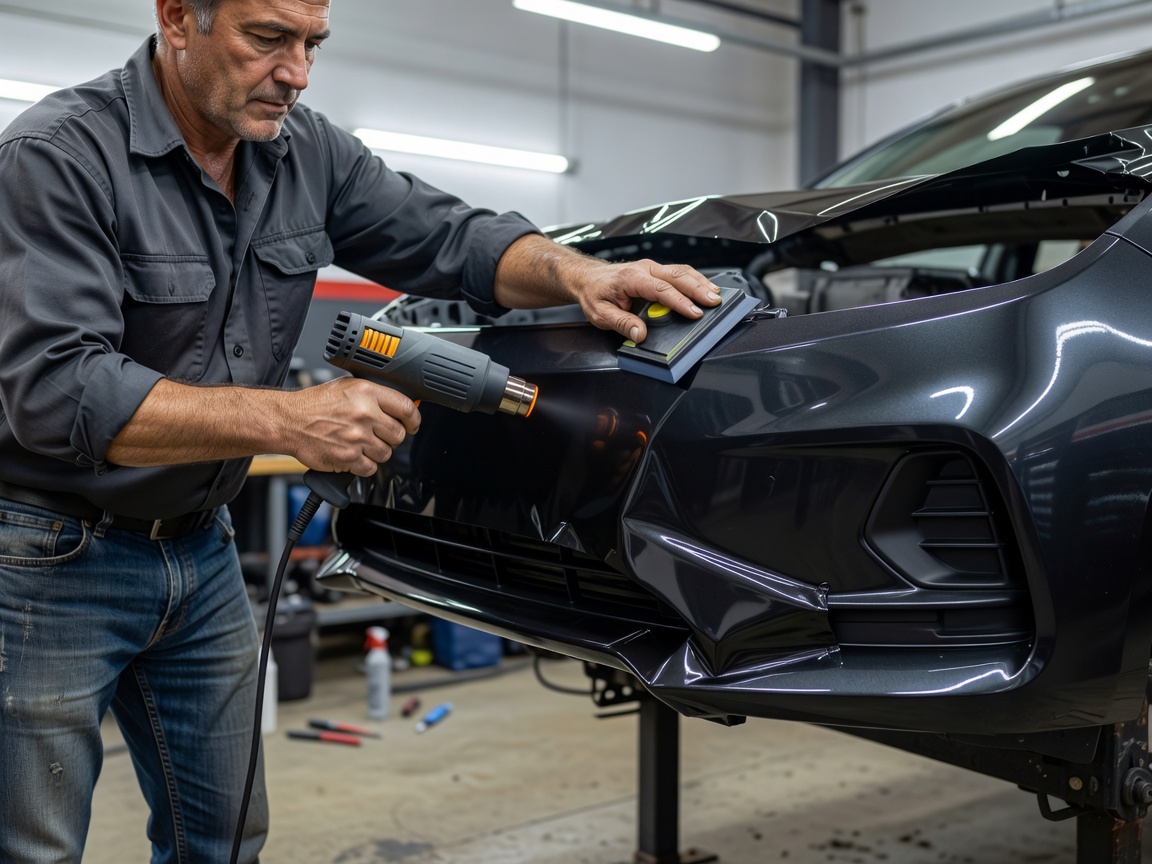
Apply the material carefully across the relevant vehicle surfaces using appropriate tension, specialized tools, and controlled heat application to adhere seamlessly to body contours.
06
Detail Finishing
Complete edges by folding them into panel gaps where possible, trim around tricky contours, refine transitions, and execute other vital finishing details to ensure paint-like appearance.
07
Final Inspection
Rigorous review of the completed wrap. We check edge retention, ensure all post-heating is completed to set material memory, and verify the overall finished aesthetic before handing back the keys.